Hawaii Promotional Poster
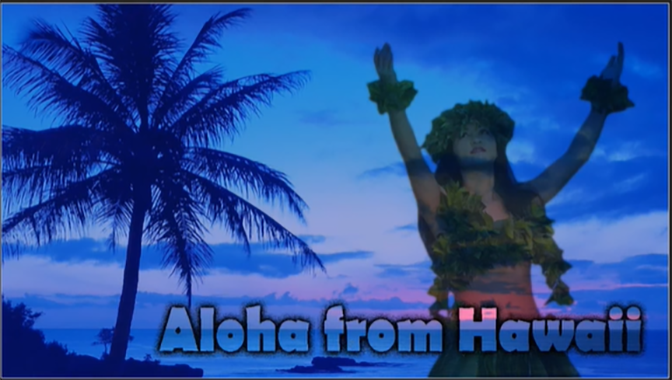
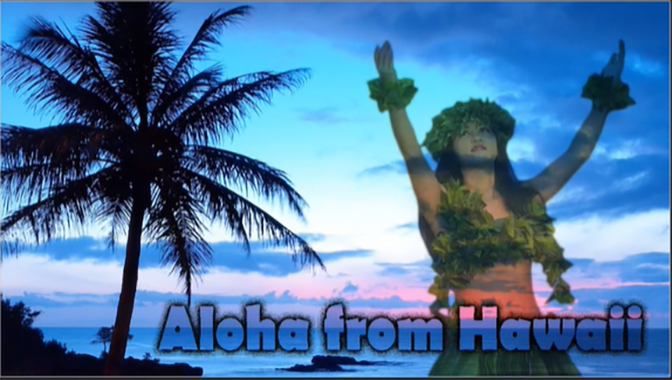
In this project you will create a promotional poster for the state of Hawaii. Create 3 versions by following the video directions. When you are done make sure that you post your results to your online portfolio. Below are 3 versions that were created for this project to help give you ideas for your own designs.


Step 1 - Getting Started
- Folder Setup: Before you begin your project make sure that you have created a project folder to store your Photoshop project and any resources you are using for this project. You should have created your folder previously as part of the Photoshop Course page Project Folder Setup section. All files related to this project should be stored in the project1 folder inside your PHOTOSHOP PROJECTS folder.
- Download and extract the resource file:
- Right click the link Hawaii_Resources.zip and download the zip file to your computer. By default it will download to your downloads folder.
- Move it to your project1 folder
- Right click the Hawaii_Resources.zip file and a popup menu will appear. Select Extract All... on the menu.
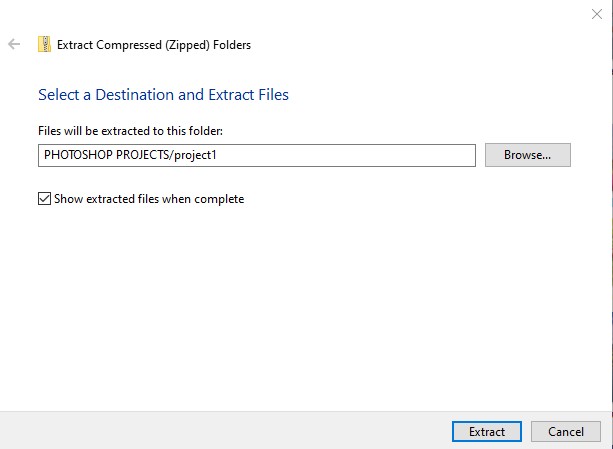
- A new popup window will appear and you will type in the location for your files to be extracted to or use the Browse button to locate your project1 folder and click the Extract button to extract your files to PHOTOSHOP PROJECTS/project1 as shown below:
- OPEN PHOTOSHOP: Open ADOBE Photoshop and follow the video directions below to create your new file and save it to your project folder.
Step 2 - Create Hawaii Poster
In this step you will create several versions of your Hawaii poster design. Follow the video directions below to complete your poster designs.
Step 3 - Directions
In this step you will create ...
Step 4 - Directions
In this step you will create ...
Step 5 - Directions
In this step you will create ...
Step 6 - Directions
In this step you will create ...